
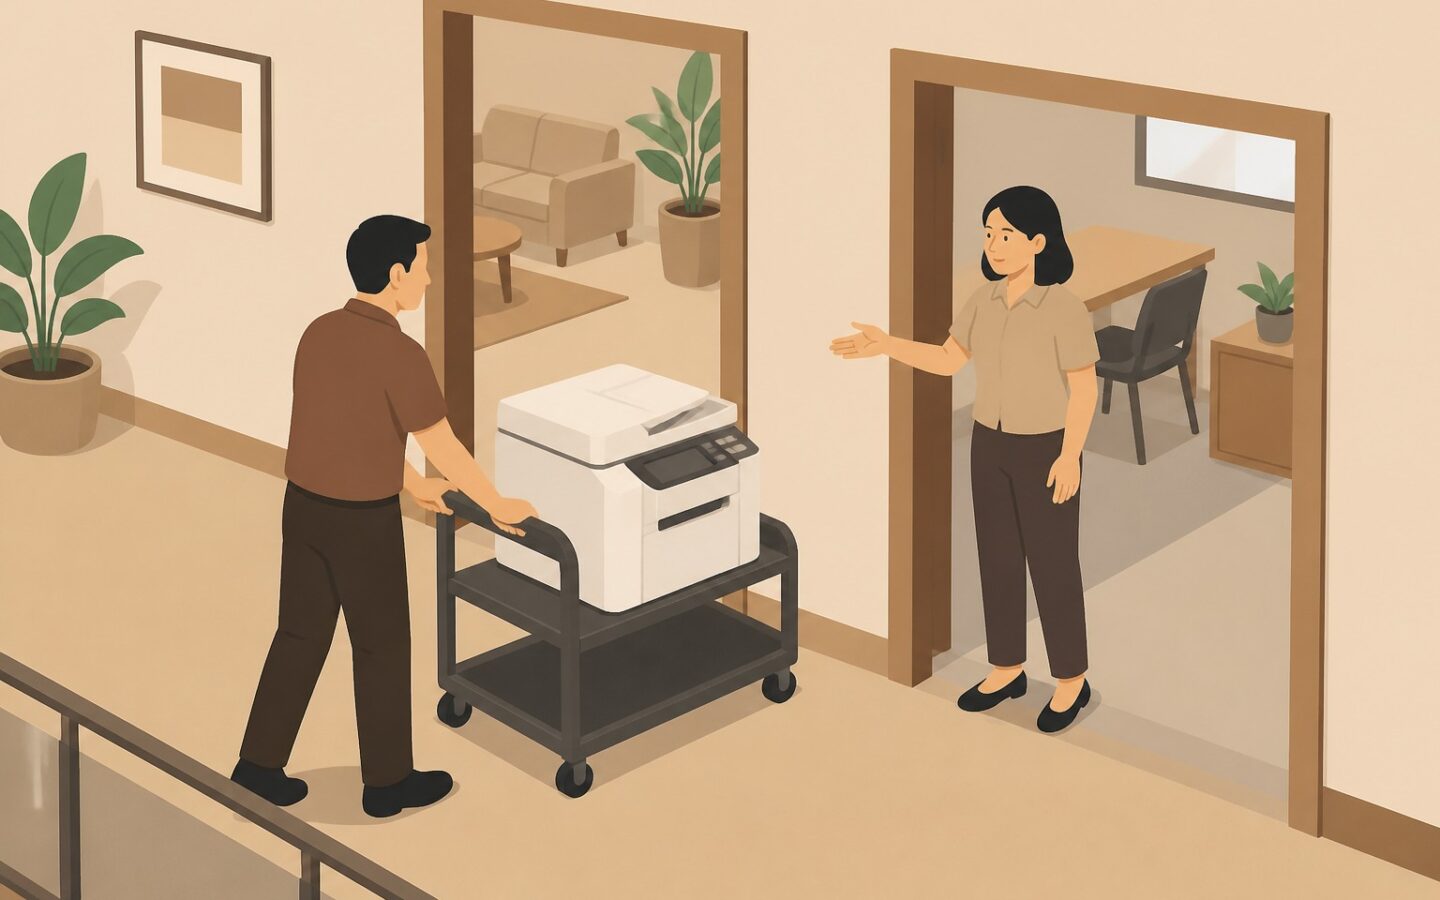
A printer has been moved to a branch office, but when the team tries to identify its recipient, they find only a shipping message with no confirmation of receipt. Asset transfer procedures need to include traceable records. The following seven steps help you confirm an asset’s location, the person responsible, and its transfer status.
The goal is not simply to change the location name in an asset list, but to ensure that someone is responsible from handover through receipt. You can use this workflow for transfers between rooms or branches, with checks tailored to the risks and your organization’s policies.
Step 1: Confirm the asset and its destination
Match the asset’s identity and condition
Inspect the physical item, then match its asset number against the available records. Also check its serial number, if any, initial condition, and any accessories being transferred to prevent mix-ups between similar items.
For a printer, for example, record whether the power cable and additional tray are included in the shipment. If the asset label is illegible, confirm the item’s identity before creating a transfer request.
Confirm the destination
Specify the destination precisely, such as Bekasi Branch, floor 2, administration room, rather than simply “branch office.” Include the reason for the transfer, such as replacing a faulty device or meeting the needs of a new workspace.
Make sure the destination is ready to receive the item and that you know who will receive it. For a temporary loan, include a return plan so the records do not indicate that the asset will remain at the new location.
Step 2: Identify the parties involved
Assign responsibility at each stage
Determine who requests, approves, hands over, transports if necessary, and receives the asset. Record their names and roles so the team can contact the right person rather than always asking the asset administrator.
The person responsible oversees the item’s use or whereabouts but does not necessarily own it. Moving a printer between branches of the same company usually changes its location and the person responsible, not its ownership.
Align approvals with organizational policies
Follow your organization’s rules on who is authorized to approve transfers. The workflow may differ depending on the asset type or transfer destination. Where possible, separate the approver from the person who updates the records.
In a small team with limited staff, a supervisor can review the records after they have been updated. Also specify who looks after the asset in transit so responsibility remains clear between the sender and recipient.
Step 3: Prepare supporting evidence before moving the asset
Use a single transfer reference number
Prepare an asset transfer form or digital record with a unique reference number. Make sure the team can trace who created, modified, and approved the record. Avoid files whose contents can be replaced without retaining a change history.
Link the reference number to the asset’s identity, reason for transfer, original location, destination, and agreed schedule. If several items are being moved together, attach the identity of each asset, not just the total quantity.
Choose evidence to suit your needs
Tailor the evidence to the transfer risks, such as condition photos, an accessory list, and confirmation that the recipient is ready. Photos help show the item’s condition, but they do not replace asset identification or handover confirmation.
If the schedule or destination changes after approval, record the changes before moving the item. Retain the previous version so reviewers can distinguish the original plan from the transfer that actually took place.
Step 4: Check the condition at handover
Inspect the item before handing it over
The person handing over the asset needs to match the item against the transfer list and record the handover time. Check its condition and completeness before taking it out or handing it directly to the next user.
For transfers between rooms, the team may only need to inspect the item together without special transport. For shipments between branches, record the person transporting the item or the shipment number so the team can track its whereabouts in transit.
Confirm receipt, not just shipment
The recipient checks the item’s identity, condition, and accessories before confirming receipt. Proof of shipment alone is not enough to confirm that the item has reached its destination.
If the printer tray does not arrive or the recipient finds damage, record the issue specifically along with relevant evidence. Distinguish the receipt status from the issue-resolution status so confirmation of receipt does not obscure shortcomings that still need attention.
Step 5: Update the asset’s history and information
Record changes in chronological order
After the recipient confirms the item’s arrival, update its current location and the person responsible without deleting previous information. Record the original location, new location, effective date, person making the entry, and transfer reference number in the asset’s history.
Distinguish the event date from the recording date. For example, the recipient receives the printer on 12 October, but the administrator only updates the record on 13 October. Both dates help explain the delay in recording without changing the actual sequence of events.
Link the latest information and change history through the same asset identity. To organize the basic records, you can use the structure in the fixed asset register template as a reference, then record each transfer as a separate event.
Clearly record changes in responsibility
Record the names of the previous and new people responsible, along with the time responsibility changed hands. If the item is still in transit, use that status and do not immediately record it as received at the destination.
A change of location does not automatically change the asset’s book value or ownership. If the transfer involves different entities, the relevant teams should assess its treatment separately.
Step 6: Reconcile the records with the actual situation
Check record accuracy after receipt
The asset administrator reconciles the updated list with the recipient’s confirmation and handover evidence. The person responsible for the location can verify that the item is actually in the recorded room, especially if the destination changed during the transfer.
For example, the team ultimately places the printer in the service room rather than the administration room. Confirm and record this change so the team looks for the item at its actual location, not the location listed only in the plan.
Assign someone to address each discrepancy
Do not simply record discrepancies without following up. Assign a person to handle each one, an agreed resolution target, and a follow-up status, such as awaiting confirmation, being repaired, or completed.
If the identity does not match or the item has not been found, it is best not to close the process yet. The team can handle missing accessories as a separate issue, but should still link its resolution to the transfer reference number.
Step 7: Close and evaluate the process
Check completeness before closing the process
The team can close the asset transfer procedure once the evidence of the completed transfer matches the updated records. Check the following before changing the status to completed:
- The identity of the asset received matches the request.
- The team has confirmed the actual location and the current person responsible.
- The team can find the change history and evidence of approval.
- The team has resolved discrepancies or established clear follow-up actions.
Store documents by reference number so evidence is not scattered across private conversations. Restrict access to modify records according to roles and follow your organization’s document retention policy.
Improve the stages that most often cause delays
Review whether delays occur when requesting approval, confirming receipt, or updating records. If the team often has not identified a recipient, for example, make sure the recipient’s name is recorded before handing over the item.
A well-organized history allows the team to answer where an asset is and who is responsible without guessing from old messages. Its value lies in the continuity of evidence from start to closure, not in the number of documents.
Start with the next transfer to test whether responsibilities are clear and the record trail is complete.
Learn more on the official Fisetra website.